In today’s digital age, property photography, property videography, and property drone imaging have revolutionized the real estate industry. Whether you’re a realtor, property developer, or homeowner, the way you visually present a property can make all the difference. Buyers are drawn to captivating visuals that help them imagine living in the space—making professional property visuals not just helpful, but essential.
This complete guide explores how high-quality photography, cinematic videography, and drone footage can elevate your property listings, boost engagement, and increase sales.
Why Property Photography Matters
First Impressions Are Everything
When buyers scroll through listings online, the photos are the first thing that grab their attention. Professional property photography creates an emotional connection and sets the tone for the viewing experience. A dark, poorly framed photo can make even a beautiful home look unappealing. On the other hand, bright, high-resolution images highlight a property’s best features and attract serious buyers.
The Power of Professional Quality
Using a smartphone camera might be convenient, but it can’t compete with the precision of professional gear. Skilled property photographers understand lighting, composition, and editing techniques that make each room look spacious and inviting. Wide-angle lenses, tripods, and HDR imaging all contribute to stunning visuals that enhance the property’s appeal.
Essential Tips for Property Photography
1. Focus on Lighting
Natural light is your best friend in property photography. Open blinds, let sunlight fill the room, and shoot during the “golden hour” for outdoor images. Soft lighting brings warmth and depth, helping the property look welcoming and natural.
2. Stage the Property
Decluttering and staging are key. A clean, well-arranged space allows potential buyers to visualize themselves living there. Add fresh flowers, set the dining table, and use neutral tones to create a balanced environment.
3. Choose the Right Angles
Capture rooms from corners to give a sense of depth. Highlight important features like fireplaces, large windows, or custom furniture. Always maintain straight vertical lines in architectural shots to ensure a professional look.
4. Edit Carefully
Editing enhances the image but should never distort reality. Adjust brightness, contrast, and color balance, but avoid over-saturation or fake-looking enhancements. Realistic, clean edits make the biggest impact.
The Rise of Property Videography
Telling a Story Through Motion
Static images are powerful—but videos tell the full story. Property videography adds emotion, flow, and atmosphere. It allows viewers to experience the layout, size, and ambiance in a more immersive way. From walkthroughs to cinematic highlight reels, property videos engage buyers on a deeper level.
The Benefits of Property Videos
-
Increased Engagement: Listings with videos get more clicks and longer view times.
-
Social Media Friendly: Video content performs better on platforms like Instagram, YouTube, and TikTok.
-
Emotional Connection: Background music and movement help viewers feel emotionally connected to the property.
-
Virtual Tours: Especially useful for international or remote buyers, giving them a realistic viewing experience.
Key Techniques in Property Videography
1. Smooth Camera Movements
Use a gimbal or stabilizer for steady shots. Jerky camera movements can distract viewers. Slow pans, tilts, and glides create a professional cinematic feel.
2. Combine Wide and Detail Shots
Start with wide shots to establish the space, then transition into close-ups of unique details—like marble countertops, ceiling lights, or wood textures. This balance keeps viewers engaged.
3. Add Narration or Text
A calm, professional voice-over or minimal on-screen text can highlight the property’s main features—such as location, size, or amenities—without overwhelming the viewer.
4. Perfect the Edit
Use smooth transitions, appropriate background music, and balanced pacing. Keep the video between 1–3 minutes for maximum viewer retention.
The Impact of Property Drone Photography
Elevate Your Perspective
Property drone photography offers breathtaking aerial views that traditional photography can’t match. It captures the scale, surroundings, and architecture of a property from above—making listings look luxurious and dynamic.
Benefits of Using Drones
-
Showcase Location: Display nearby amenities like parks, lakes, and city skylines.
-
Highlight Property Boundaries: Perfect for large estates, farms, or commercial properties.
-
Create Dramatic Visuals: Aerial shots give viewers a sense of grandeur and exclusivity.
-
Increase Listing Appeal: Properties with drone footage stand out more in crowded markets.
Drone Videography Tips for Real Estate
1. Follow Legal Requirements
Before flying a drone, ensure you have the necessary permissions and follow aviation laws. Certified drone operators must comply with local airspace regulations.
2. Plan the Flight Path
Pre-plan your shots—start with wide aerial views, then gently descend toward the property. Smooth, cinematic movements create a luxurious feel.
3. Use the Right Gear
Modern drones offer 4K resolution, advanced stabilization, and intelligent flight modes. These features ensure crisp, professional results even in challenging lighting conditions.
4. Edit with Precision
Combine drone footage with interior and exterior video for a complete tour. Color-match the clips and maintain consistent brightness for a seamless look.
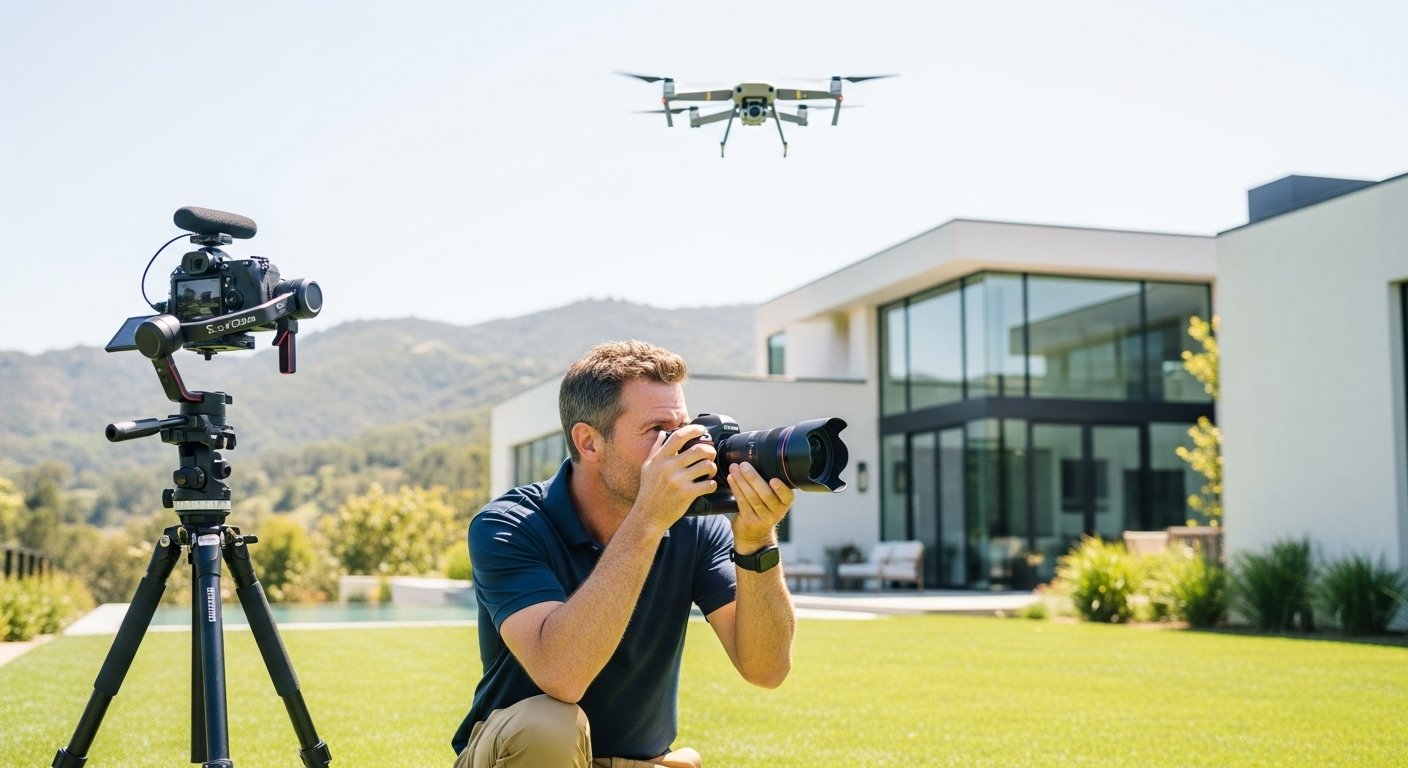
Combining Photography, Videography, and Drone Footage
The most successful real estate listings blend all three elements—property photography, property videography, and property drone imagery. Together, they tell a complete visual story that highlights every angle of the property.
For instance, you might start with an aerial drone shot showing the property’s exterior and neighborhood, transition into indoor videography, and conclude with stunning close-up photos of key rooms. This multi-format approach captivates viewers and builds trust in the property’s quality.
Tools and Software for Property Visuals
-
Cameras: DSLR or mirrorless models like Canon EOS R or Sony A7 series
-
Lenses: Wide-angle (16–35mm) for interiors, telephoto for exteriors
-
Drones: DJI Mavic 3, Air 3, or Mini 4 Pro
-
Editing Software: Adobe Lightroom, Premiere Pro, or Final Cut Pro
Investing in the right equipment ensures professional-level visuals that can significantly boost your property marketing results.
Conclusion
High-quality property photography, property videography, and property drone imaging aren’t just luxuries—they’re essential tools in today’s competitive real estate market. They shape the buyer’s first impression, tell the story of the property, and build emotional engagement.
By investing in professional visuals, you don’t just sell faster—you sell smarter. Whether you’re showcasing a cozy apartment or a sprawling estate, great visuals are the key to standing out and closing deals confidently.
FAQs
1. Why is professional property photography important?
Professional photography highlights a property’s best features, increases buyer interest, and makes listings more appealing online.
2. How long should a property video be?
The ideal length for a property video is between 1 to 3 minutes—long enough to show details but short enough to keep attention.
3. Can I use a drone without a license for property photography?
In most countries, commercial drone use requires certification or licensing. Always check local regulations before flying.
4. What’s better for real estate—photos or videos?
Both are essential. Photos attract attention, while videos provide an immersive viewing experience that helps buyers connect emotionally.
5. What are the best times to shoot property visuals?
Early morning or late afternoon (“golden hours”) provide soft, warm lighting that enhances the beauty of the property.